How to Get Professional Results from New AI Image Models in 2025: A Step-by-Step Nano Banana 2 Pro Tutorial (Reference Images, PRO Mode & Prompt Structure That Actually Works)
Stop getting amateur AI images. Learn the exact prompt structure, reference image strategy, and PRO mode techniques that separate professional results from garbage in 2025.
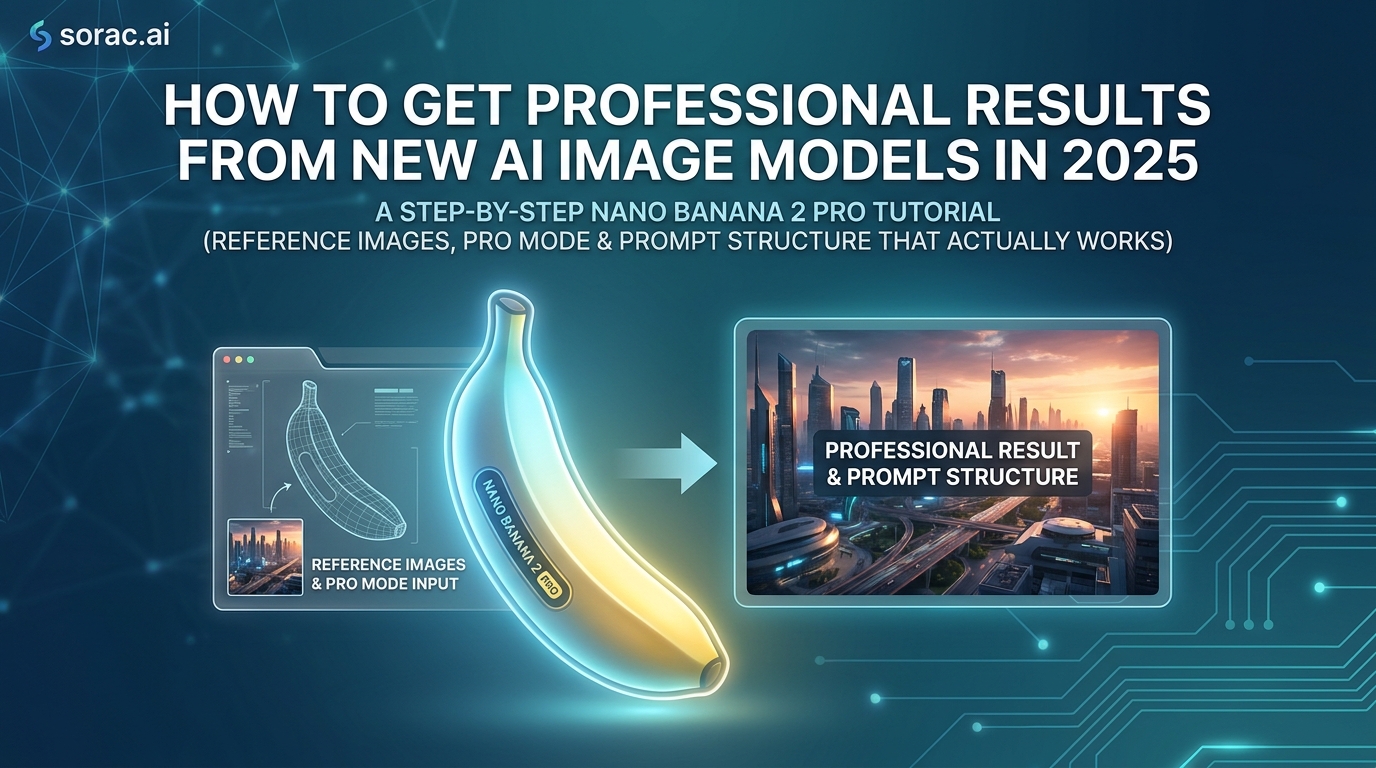
How to Get Professional Results from New AI Image Models in 2025: A Step-by-Step Nano Banana 2 Pro Tutorial (Reference Images, PRO Mode & Prompt Structure That Actually Works)
Look, we need to talk about why your AI images look like they were made by a drunk robot.
You've seen those incredible AI-generated images flooding Instagram and TikTok—photorealistic portraits, stunning product shots, artistic masterpieces that make you question reality. Then you try making your own and get... well, something that looks like a fever dream had a baby with a stock photo.
The gap between "AI image generator" and "professional-looking AI images" isn't about the tool—it's about knowing how to use it. And in 2025, with models like Nano Banana 2 Pro pushing the boundaries of what's possible, the difference between amateur and pro results comes down to three things: prompt structure, reference images, and knowing when to use PRO mode.
Let me show you exactly how to bridge that gap.
What You Need Before You Start
Here's your toolkit:
Don't worry if you're starting from scratch. I'll walk you through finding reference images and building prompts even if you're creatively bankrupt right now.
Step 1: Decide If You Actually Need PRO Mode
When Standard Mode Is Fine
Let's be real: not everything needs the premium treatment. Standard Nano Banana 2 Pro (1 coin) works great for:
When You NEED Nano Banana 2 PRO Mode
Pony up the 4 coins when you need:
PRO mode isn't just "standard but prettier"—it's a different level of coherence, especially in complex scenes with multiple elements. The color grading alone is worth the extra coins.
Step 2: Master Prompt Structure (The Part Everyone Gets Wrong)
Most people write prompts like they're texting their friend: "make me a cool dragon." Then they wonder why the output looks like a lizard with delusions of grandeur.
Here's the formula that actually works:
The Professional Prompt Structure
[Subject] + [Style/Medium] + [Lighting] + [Composition] + [Details/Mood] + [Technical specs]
Let's break it down with real examples:
Bad prompt: "a woman in a cafe"
Good prompt: "Portrait of a woman in her 30s sitting by a cafe window, cinematic photography style, soft golden hour lighting from the left, shallow depth of field with bokeh background, wearing a cream turtleneck sweater, contemplative expression, shot on 85mm lens, warm color grading, professional headshot quality"
See the difference? The second prompt gives Nano Banana 2 Pro actual direction.
Pro Tip: Be Specific About What You DON'T Want
Nano Banana 2 Pro responds well to negative prompting. Add phrases like:
The Aspect Ratio Matters More Than You Think
Nano Banana 2 Pro offers 11 aspect ratios, and choosing the right one is crucial:
Don't just default to square. Match your ratio to where you'll actually use the image.
Step 3: Leverage Reference Images (The Secret Weapon)
This is where amateurs become pros. Nano Banana 2 Pro lets you upload up to 5 reference images to guide generation, and this feature is criminally underused.
How to Use Reference Images Effectively
Option 1: Style Reference
Upload images that have the aesthetic you want—lighting, color grading, composition. The AI will understand "make it look like this" even if your subject is completely different.
Option 2: Subject Reference
Upload photos of the actual subject you want (a specific person, product, or location). Combined with a detailed prompt, this creates incredible consistency.
Option 3: Composition Reference
Upload images with the framing and layout you want. Perfect for matching a specific vibe or recreating a classic photography style.
Pro Tip: Mix and Match
Upload 2-3 style references + 1-2 subject references. For example:
The AI weighs all of them and creates something that synthesizes your vision.
Step 4: Iterate Like a Pro (Not Like a Psychopath)
Here's what NOT to do: generate 47 versions with completely different prompts and wonder why nothing looks good.
Here's what TO do:
This approach saves you coins and sanity. I've seen people burn through hundreds of coins because they kept changing everything simultaneously and never learned what actually worked.
Step 5: Technical Settings for Different Use Cases
Let me give you the cheat codes for common scenarios:
For Product Photography
For Social Media Content
For Artistic/Portfolio Work
For Character Consistency (Multi-Image Projects)
Step 6: The Prompts Library Shortcut
Honest talk: you don't have to reinvent the wheel. Head to soracai.com/prompts and browse 1000+ curated prompts specifically optimized for Nano Banana 2 Pro.
Find something close to what you want, copy it, tweak it to your needs, and try it with one click. It's like having a professional prompt engineer on speed dial.
Categories include everything from portrait photography to fantasy art to product shots. This is especially useful when you're stuck or learning what good prompts look like.
Pro Tips That Make the Difference
Lighting Is Everything
Be specific: "soft diffused lighting," "dramatic side lighting," "golden hour backlight," "studio three-point lighting." Generic "good lighting" gets you generic results.
Name Drop Styles and Artists
"In the style of Annie Leibovitz" or "Wes Anderson color palette" gives the AI cultural context that paragraphs of description can't match. (Just be mindful of using this ethically.)
Technical Photography Terms Work
"Shot on 85mm f/1.4," "shallow depth of field," "bokeh background," "tilt-shift effect"—Nano Banana 2 Pro understands camera terminology and uses it to create more realistic images.
Mood Words Are Your Friend
Instead of just describing what's in the image, describe the feeling: "melancholic," "energetic," "serene," "ominous." This guides the overall aesthetic.
Troubleshooting Common Issues
Problem: Images Look "AI-ish" or Artificial
Solution: Use reference images from real photography, add "photorealistic" to your prompt, specify camera equipment ("shot on Canon EOS R5"), and use PRO mode. The "AI look" usually comes from the model filling in gaps—give it less room to improvise.
Problem: Inconsistent Results
Solution: Your prompt is probably too vague or you're changing too many variables. Lock down your core prompt and aspect ratio, then make small adjustments. Use reference images for consistency.
Problem: Wrong Aspect Ratio After Generation
Solution: You can't change it after generation—choose carefully before hitting generate. Think about where you'll use the image first.
Problem: Details Are Muddy or Blurry
Solution: Switch to PRO mode (seriously, this is what it's for), add "high detail, sharp focus, crisp" to your prompt, and make sure you're not asking for too many complex elements in one image.
Problem: Colors Look Off
Solution: Be specific about color grading ("warm tones," "cool color palette," "muted colors," "vibrant saturation"). Upload reference images with the color treatment you want. PRO mode has significantly better color accuracy.
Beyond Static Images: Expanding Your AI Toolkit
Once you've mastered Nano Banana 2 Pro for images, consider expanding into:
AI Dance Videos
Turn those perfect AI portraits into dancing videos with soracai.com/ai-dance. Using Kling 2.6 motion control, you can animate any photo with 23+ dance styles—from hip-hop to ballet. It's perfect for viral TikTok content (8 coins per video, 2-5 minute generation time).
Imagine: generate a perfect character portrait with Nano Banana 2 Pro, then make them dance. That's next-level content.
AI Video Generation
For full text-to-video, check out Sora 2 at soracai.com/ai-video-generator. Choose portrait (9:16) for social media or landscape (16:9) for YouTube. It's the natural evolution once static images aren't enough.
Trending AI Effects
Browse soracai.com/trends for viral transformations like the AI Ghostface Effect, Action Figure Creator, or even Add Girlfriend/Boyfriend effects. Sometimes the fastest path to engagement is riding a trend.
The Real Secret: Practice With Purpose
Here's what separates people who get good at AI image generation from those who stay frustrated:
Bad practice: Generate 100 random images with different prompts and hope something works.
Good practice: Choose ONE type of image (portraits, products, landscapes), generate 20 variations while systematically testing different prompt structures, aspect ratios, and reference image combinations. Learn what works, then move to the next category.
Keep a document of prompts that worked. Build your own library. Notice patterns in what Nano Banana 2 Pro responds to.
Your Action Plan for Today
That's it. Don't overthink it. The difference between amateur and professional AI images isn't talent—it's knowing these specific techniques and actually using them.
Nano Banana 2 Pro is powerful enough to create genuinely professional results in 2025. Most people just don't know how to talk to it properly. Now you do.
Go make something that doesn't look like a drunk robot made it.